Products
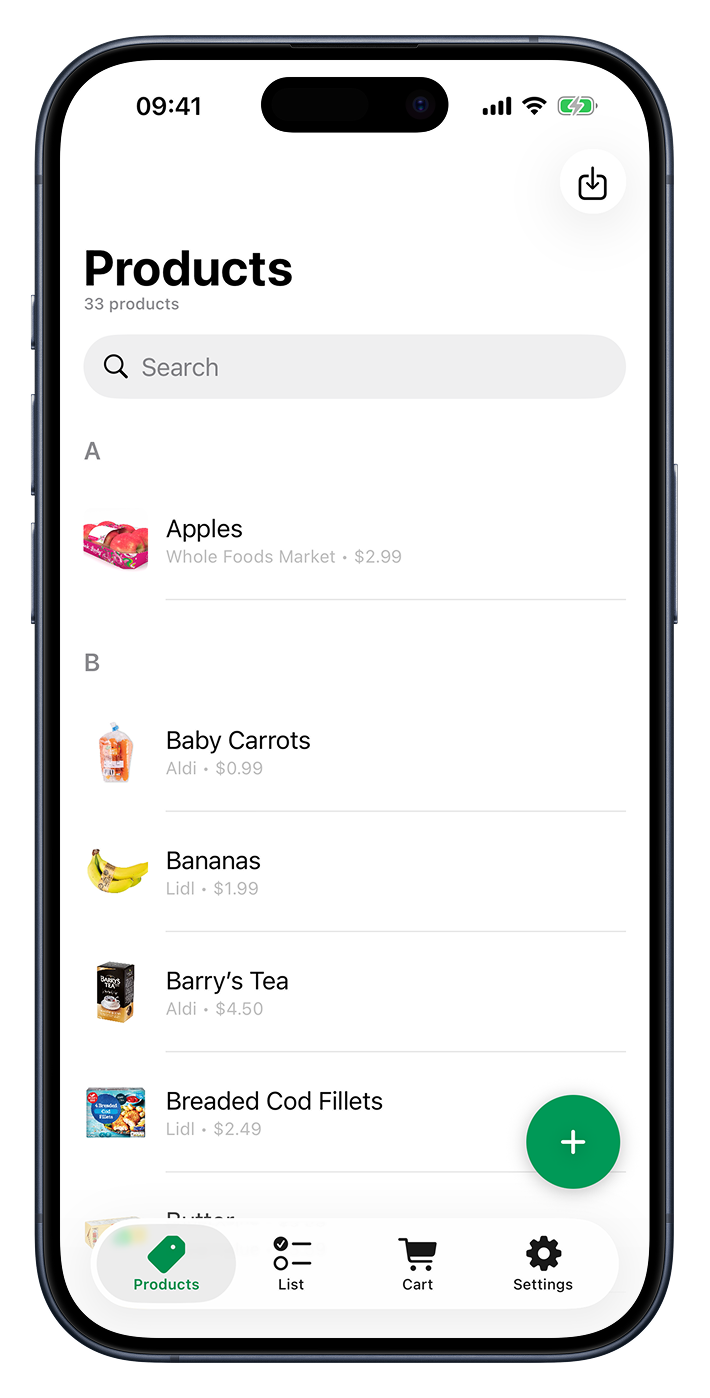
When you open Cartsy, the Products screen is the first thing you see. It’s your personal shelf — the place to keep all the things you normally buy, so they’re ready whenever you want to build a list or head to the shop.
Keeping your products here means you only have to add something once. After that, dropping it onto a shopping list or into your cart takes a single tap.
Adding a product
Tap the plus button in the bottom corner to create a new product. On the New Product screen you can fill in as much or as little as you like — just a name is enough to get started, and you can always come back and add more later.
Here’s what you can give a product:
Name
The name is the only thing a product really needs. It’s what you’ll see in your lists and search results.
Price
Type the price in yourself, or tap the camera button next to it to scan a price tag and let Cartsy read the number for you. Scanning is a real time-saver when you’re standing in the aisle. There’s a whole section on this — see the Price Scanner.
Barcode or QR code
Tap Scan a barcode or QR code to point your camera at a product’s code and save it. Once a product has a code, you can pull it back up later as a scannable barcode — handy at the checkout.
If you’d like, Cartsy can also use the barcode to fill in the product’s name and photo for you automatically from an online food database. That’s an optional setting you can switch on in Settings.
Photo
Add a picture so your products are easy to spot at a glance. Take a photo with your camera or choose one from your library — and you can swap it out or remove it anytime.
Shop
Assign the product to a shop so you know where you usually buy it. We cover this in more detail in the Shops section.
Finding a product
Once your shelf fills up, use the search bar at the top to find something fast. You can search by name, or by a product’s barcode number if you’ve saved one.
Viewing a product
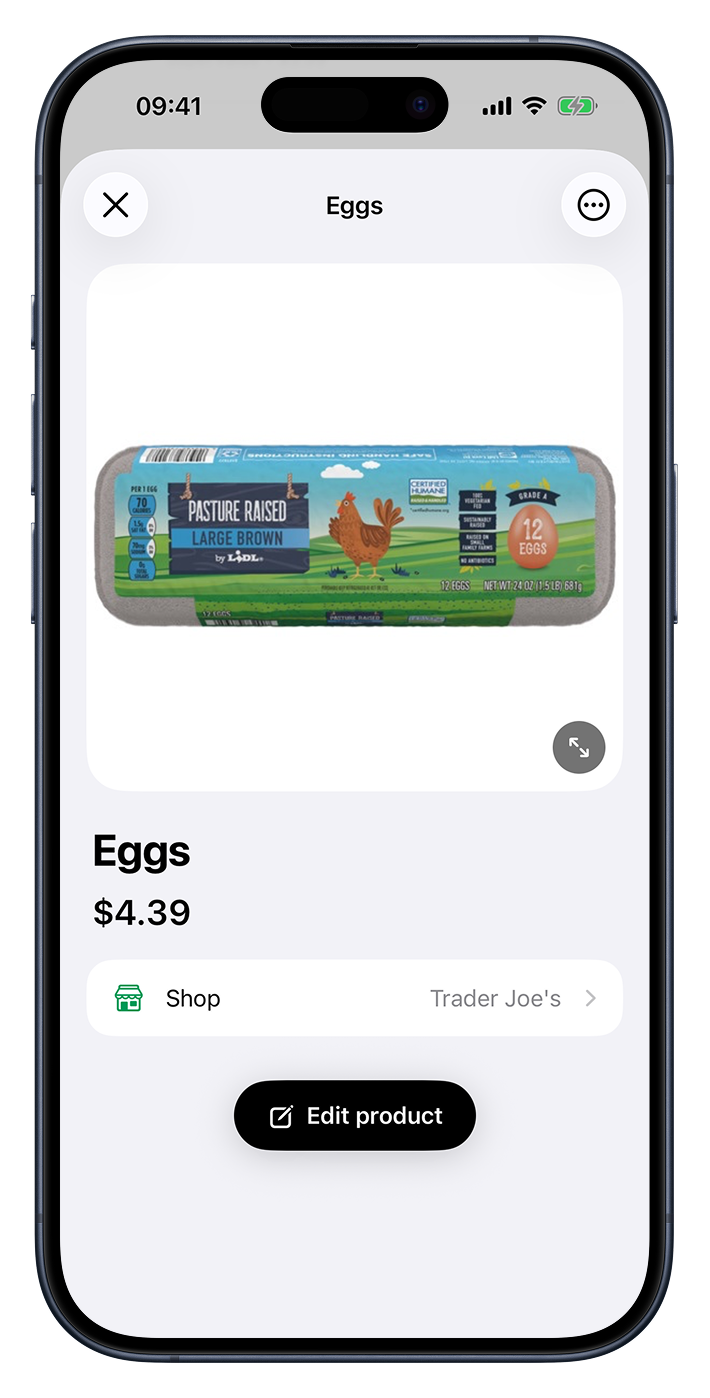
Tap any product to open its details — a larger photo, its price, its shop, and its code all in one place. Tap the photo to see it full screen, and tap the barcode to expand it into a scannable image you can hold up at the till.
Editing a product
Open a product and tap Edit product to change anything about it — a new price, a better photo, a different shop. Your changes are saved as soon as you confirm.
Deleting a product
To remove a product, swipe it to the left and tap delete, or open the product and choose delete from the menu in the top corner. The product is taken off your shelf and quietly removed from any shopping items that used it.
Adding to your shopping list
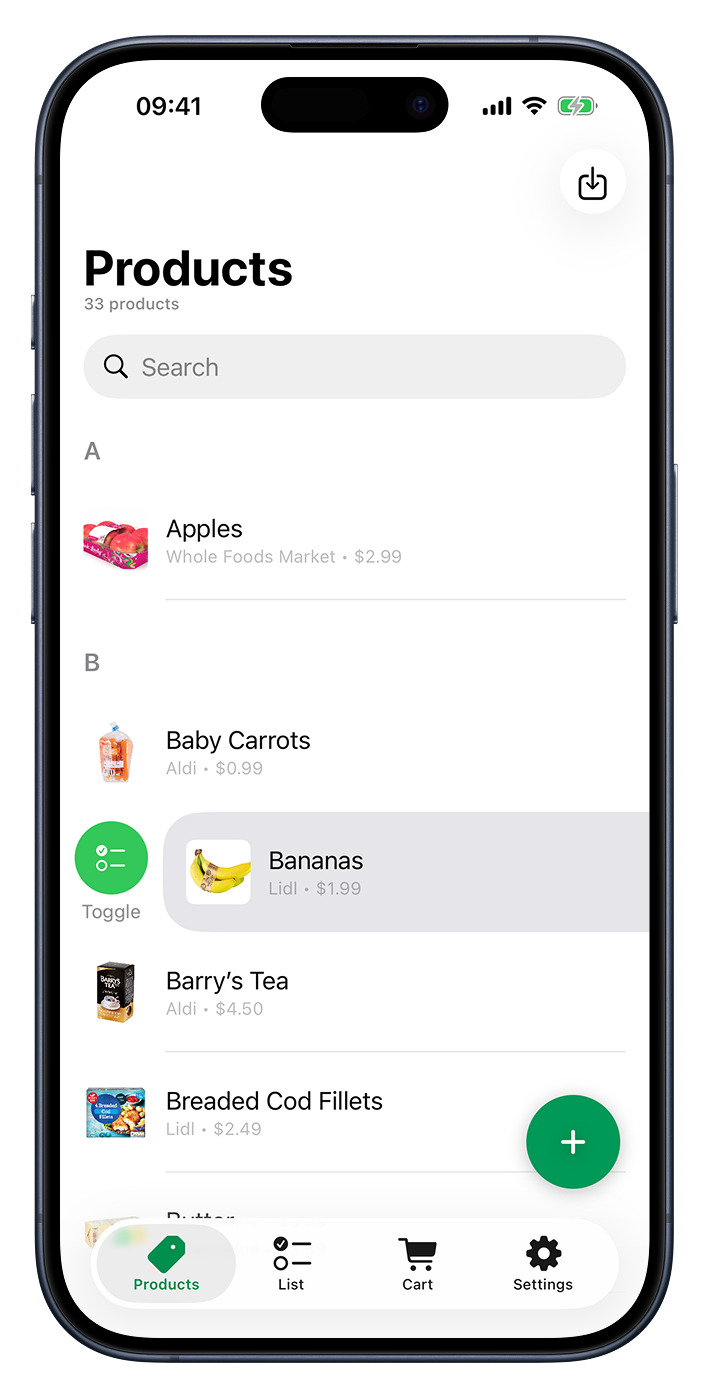
You don’t have to leave the Products screen to plan a shop. Swipe a product to the right to drop it straight onto your shopping list — swipe again to take it back off. Products that are already on your list show a small checklist mark, so you can see at a glance what’s already planned. There’s much more in the Shopping List section.
Importing from Apple Reminders
Lots of people keep their shopping list in the Apple Reminders app, and Cartsy is happy to meet you there. Tap the import button in the top-right corner to bring those items in as products.
Cartsy will ask for permission the first time, then show your Reminders lists. Pick a list and tap Import — Cartsy reads just the item titles and adds them to your products. Got items spread across a few different lists? Simply import one, then repeat for the next.
Cartsy tidies up as it goes: it skips anything that’s blank or already on your shelf, and shows you a quick summary of what was added when it’s done.